Microgreens farming is becoming an increasingly popular trend in both home gardening and modern agriculture. These tiny plants, harvested at a young stage, are not only flavorful but also packed with nutrients. Whether you’re looking to enhance your meals or explore a profitable agricultural business, microgreens offer an easy and sustainable solution.
Microgreens are loved for their quick growth and minimal space requirements. They are ideal for urban farming, where space is often limited, and have become a go-to for those seeking fresh, homegrown ingredients. As more people turn to healthy eating, microgreens are now a staple in restaurants, grocery stores, and home kitchens.
Lets tear this topic down section by section and get a good valuable hidden secrets to understanding microgreens farming
Section 1: What is Microgreens Farming?
1.1 What are Microgreens?
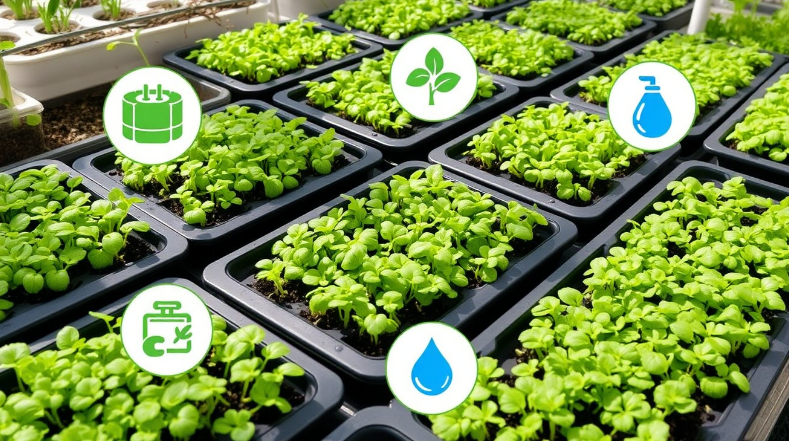
Microgreens are young, edible plants that are harvested at an early stage, just after the first leaves develop. They are usually 1 to 3 inches tall and come in a wide variety of flavors and textures. Microgreens are different from sprouts and baby greens:
- Sprouts are germinated seeds, typically harvested after a few days, without developing true leaves.
- Baby greens are more mature than microgreens, grown longer, and harvested after several weeks when the leaves are larger.
Popular varieties of microgreens include radish, sunflower, and pea shoots. Each offers a unique flavor, making them perfect for adding a burst of taste and nutrients to meals.
1.2 What is Microgreens Farming?
Microgreens farming is a method of growing these young plants for personal use or as a business. It is a highly sustainable and profitable form of agriculture due to the short growing cycle and minimal resource requirements.
Indoor vs. Outdoor Microgreens Farming
Microgreens can be grown both indoors and outdoors, making them versatile for various environments. Indoors, they can be grown in trays or vertical systems, while outdoor microgreens thrive in small garden plots or even balcony spaces.
Benefits of Growing Microgreens in Small Spaces
One of the major benefits of microgreens farming is that it requires very little space. Whether you live in an apartment or have a small backyard, you can easily start growing microgreens. This makes it ideal for urban farming, allowing you to cultivate fresh produce even in tight spaces.
Section 2: Growing, Harvesting, and Using Microgreens
2.1 Growing Microgreens
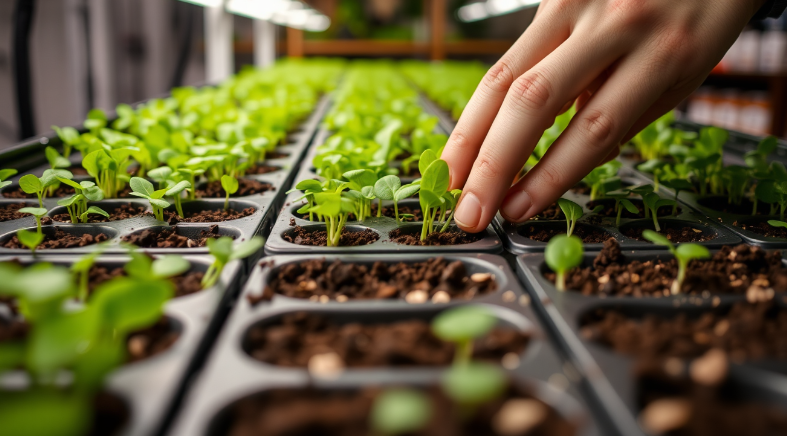
Growing microgreens is a simple process that requires minimal effort. Whether you’re starting at home or on a small farm, here’s a step-by-step guide to help you grow your own:
- Choose Your Seeds: Start by selecting seeds for the microgreens you wish to grow, such as radish, pea shoots, or sunflower.
- Prepare Trays: You’ll need shallow trays with drainage holes, which allow the water to escape and prevent root rot.
- Add Soil: Fill the trays with about an inch of good-quality potting soil or growing medium.
- Plant the Seeds: Scatter the seeds evenly on the soil, pressing them down gently. Cover with a thin layer of soil or simply mist with water.
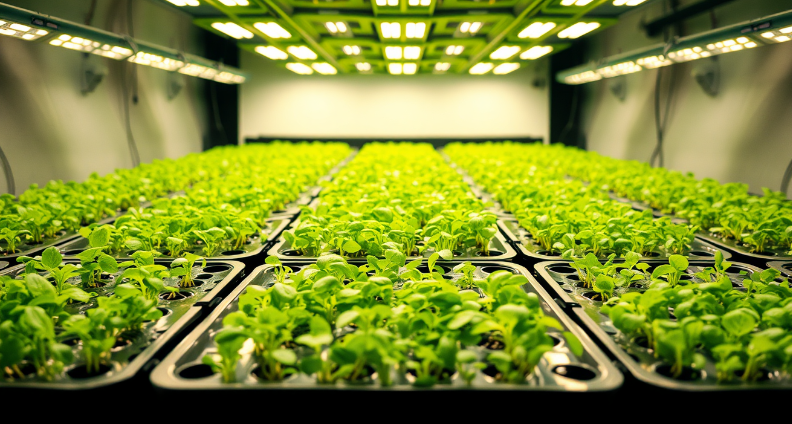
- Provide Light: Microgreens need plenty of light. If you’re growing indoors, place the trays near a sunny window or use LED grow lights.
- Water Regularly: Keep the soil moist but not waterlogged. Mist the plants with water daily to ensure they have enough moisture to grow.
To learn more about the best practices for growing microgreens, check out this detailed guide on growing microgreens at home.
2.2 Harvesting & Storing Microgreens
Microgreens are typically ready to harvest within 7-14 days, depending on the variety. Here’s how to ensure you harvest them at the right time:
- Harvest Time: The best time to harvest microgreens is when they develop their first set of true leaves. Use scissors to snip the stems just above the soil level.
- Storing Microgreens: Once harvested, store them in an airtight container in the refrigerator. To maintain freshness, place a paper towel in the container to absorb moisture, which helps them last longer.
Properly stored microgreens can stay fresh for up to a week.
2.3 Using & Eating Microgreens
Microgreens can easily be added to a variety of dishes to boost flavor and nutrition. Some popular ways to use microgreens include:
- Salads: Add a handful of microgreens to salads for a crunchy, fresh bite.
- Sandwiches: Use them as a topping in sandwiches or wraps for an extra burst of flavor.
- Smoothies: Blend microgreens into your smoothies for a nutritious addition without altering the flavor too much.
Microgreens are known to have more concentrated nutrients than their fully grown counterparts, making them a perfect choice for boosting meals with antioxidants, vitamins, and minerals.
FAQs
- How long do microgreens take to grow? Microgreens generally take 7-14 days to grow, depending on the variety and growing conditions.
- Do microgreens need special lighting? While natural sunlight works, using LED grow lights can ensure consistent growth, especially for indoor setups.
- Can I grow microgreens year-round? Yes, microgreens can be grown year-round indoors with the right temperature and lighting conditions.
- What kind of soil should I use for growing microgreens? Use a light, well-draining potting mix or a soilless growing medium like coconut coir or peat moss.
- Do microgreens regrow after cutting? Most microgreens do not regrow after harvesting. It’s best to plant new seeds after each harvest.
Valuable Tip for Section 2
- Tip: Always keep the soil consistently moist but not waterlogged during the growing process. Using a spray bottle for misting can help regulate the moisture level without overwatering.
Section 3: Expanding into the Microgreens Business & Related Topics
3.1 Microgreens Business
Starting a microgreens business can be a profitable venture, as the demand for fresh, nutrient-dense greens continues to grow. Here’s how you can begin:
- Target Markets: The most common buyers for microgreens are restaurants, grocery stores, and local farmers’ markets. Many chefs value microgreens for their taste and presentation, making them a popular choice in upscale dining.
- Starting Small: It’s possible to start a microgreens business with minimal space and equipment. Growing indoors or using a greenhouse allows you to scale as demand grows.
- Scaling Up: As you expand, consider automating some processes like irrigation and lighting. Partnering with local grocers and setting up an online store can help you reach more customers.
For more details on how to start your own microgreens business, you can check this comprehensive guide.
3.2 Hydroponic Microgreens
Hydroponic systems offer a soil-free method for growing microgreens. These systems use nutrient-rich water to grow plants faster while using less space and resources. Here are the key advantages:
- Space Efficiency: Hydroponic systems are highly efficient, allowing you to grow microgreens vertically and in small areas.
- Water Efficiency: Compared to traditional soil methods, hydroponic systems use less water. This makes them an eco-friendly choice, especially for urban farming.
Hydroponic microgreens farming can be an ideal choice for those looking to grow indoors or in areas with limited access to quality soil.
3.3 Organic Microgreens
Growing microgreens organically is a popular option for those focused on health and sustainability. Organic farming methods avoid synthetic fertilizers and pesticides, making the produce safer for consumers and the environment.
- Certifications: If you’re selling organic microgreens, it may be beneficial to obtain organic certification. This helps build trust with consumers and often allows you to charge higher prices.
- Health Benefits: Organic microgreens are often perceived as healthier due to the lack of chemical residues and higher levels of certain nutrients.
For organic farming practices and certification processes, you can explore the USDA Organic Certification guidelines.
3.4 Microgreens Recipes
Once you’ve grown a healthy crop of microgreens, it’s time to get creative in the kitchen. Microgreens can be used in a variety of dishes, from simple salads to more elaborate meals. Here are some ideas:
- Microgreen Pesto: Blend basil microgreens with garlic, pine nuts, olive oil, and parmesan for a fresh take on traditional pesto.
- Stir-fries: Add microgreens at the end of cooking to stir-fries for a fresh and slightly crunchy texture.
Experimenting with different recipes can help you discover new ways to enjoy microgreens every day.
3.5 Microgreens Growing Kits
If you’re just starting out, using a microgreens growing kit can make the process easier. These kits usually come with everything you need, including trays, seeds, and instructions. They are particularly helpful for beginners who want a hassle-free way to try microgreens farming.
- Top-rated Kits: Some of the best microgreens growing kits include Hamama, Mountain Valley Seed, and Urban Leaf. These kits vary in size and complexity, catering to different experience levels.
3.6 Microgreens Nutrition
Microgreens are known for their dense nutritional profile. Compared to mature vegetables, microgreens often contain higher concentrations of vitamins and minerals such as Vitamin C, E, and beta-carotene.
- Health Benefits: Regularly consuming microgreens can support heart health, boost immunity, and improve digestion. They are particularly rich in antioxidants, which help protect the body from free radical damage.
For a more in-depth look at the nutritional value of microgreens, you can refer to this study from the USDA.
FAQs
- How much space do I need to start a microgreens business? You can start with as little as a few square feet of space, using shelves and stacking trays vertically for efficiency.
- Is there a market for hydroponic microgreens? Yes, hydroponically grown microgreens are popular, especially among restaurants and health-conscious consumers due to their cleaner growing process and sustainability.
- Can I start a microgreens business from home? Yes, many successful microgreens businesses started from home, growing indoors using trays or hydroponic systems.
- What are the most profitable microgreens to grow? Varieties like radish, pea shoots, and sunflower microgreens are highly popular and profitable due to their quick growth cycle and market demand.
- How much does it cost to start a microgreens business? You can start a small microgreens business with as little as $500 to $1000 for seeds, trays, lighting, and other materials.
Valuable Tip for Section 3
- Tip: Building relationships with local chefs and grocery store managers is key to growing your microgreens business. Offering free samples and demonstrating the product’s freshness and flavor can secure long-term buyers.
Section 4: Benefits, Selling, and Sourcing Microgreens
4.1 Benefits of Microgreens
Microgreens are packed with health benefits, making them a valuable addition to anyone’s diet. Some key benefits include:
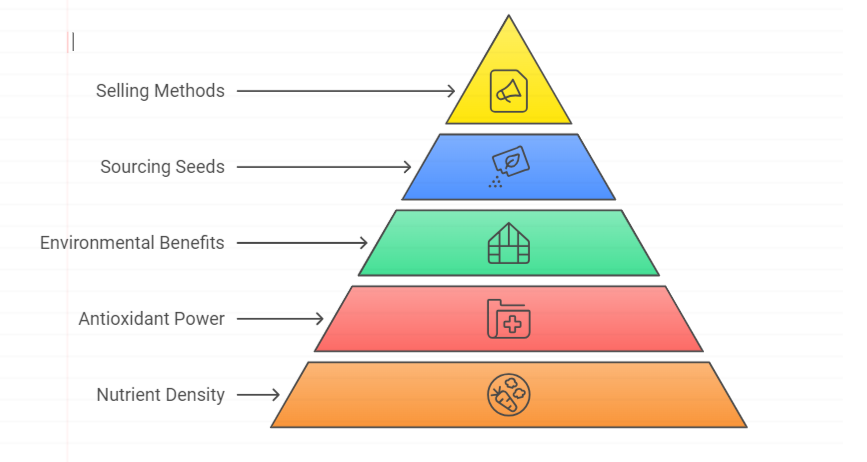
- Nutrient Density: Microgreens contain higher levels of vitamins and antioxidants compared to their mature counterparts. They are especially rich in Vitamins C, E, and K, and minerals such as magnesium and potassium.
- Antioxidant Power: The antioxidants in microgreens help fight inflammation and oxidative stress, reducing the risk of chronic diseases like heart disease and diabetes.
- Environmental Benefits: Microgreens farming uses fewer resources like water and space, making it an eco-friendly option. They grow quickly, usually within 1-2 weeks, which also reduces waste and energy use compared to traditional crops.
4.2 Selling & Sourcing Microgreens
If you are interested in selling microgreens, there are several ways to enter the market:
- Selling Locally: Many small-scale farmers start by selling their microgreens at farmers’ markets, local grocery stores, and restaurants. Local chefs, in particular, value microgreens for their fresh flavor and visual appeal.
- Online Sales: With the rise of e-commerce, selling microgreens online through your own website or platforms like Etsy or Amazon has become a viable option. Packaging and shipping should ensure freshness, so focus on local deliveries for optimal quality.
Sourcing Seeds and Materials
To grow high-quality microgreens, it’s important to source seeds from reliable suppliers. Look for organic and non-GMO seeds from reputable companies. Some popular suppliers include True Leaf Market, Johnny’s Selected Seeds, and Mountain Valley Seed Co.
For a guide on where to source quality seeds, visit True Leaf Market.
FAQs
- How do microgreens compare nutritionally to mature vegetables? Microgreens often contain higher concentrations of vitamins, minerals, and antioxidants than their mature counterparts.
- Are there specific health conditions that microgreens benefit? Microgreens may help reduce the risk of chronic conditions like heart disease, diabetes, and obesity due to their nutrient density and antioxidant content.
- Where can I sell microgreens? You can sell microgreens at local farmers’ markets, restaurants, grocery stores, or through online platforms like Etsy or your own website.
- How can I keep microgreens fresh for customers? Store them in airtight containers in the refrigerator with a paper towel to absorb moisture, and ensure prompt delivery for the freshest product.
- What should I look for when sourcing microgreens seeds? Look for organic, non-GMO seeds from reputable suppliers to ensure high germination rates and healthy crops.
Valuable Tip for Section 4
- Tip: When selling microgreens, emphasize their freshness, health benefits, and eco-friendliness. Offering a subscription service for regular deliveries to restaurants or homes can help secure steady income.
Key Takeaways from Microgreens Farming
- Microgreens Are Nutrient Powerhouses: These tiny greens pack a big punch, offering higher levels of vitamins and antioxidants than mature vegetables, making them a valuable addition to daily diets.
- Easy to Grow, Even in Small Spaces: Whether you’re using a windowsill, a small indoor setup, or even a hydroponic system, microgreens are incredibly adaptable and can be grown year-round in minimal space.
- Low-Cost Business Opportunity: Microgreens farming is a profitable venture, requiring a low startup cost and minimal space. It’s ideal for both beginners and experienced growers.
- Sustainability and Health Go Hand-in-Hand: Microgreens farming uses fewer resources like water and space, and offers substantial environmental benefits by reducing food miles and resource usage.
- High Market Demand: With their visual appeal and health benefits, microgreens are in demand from chefs, restaurants, and health-conscious consumers. They can be sold locally or online for profit.
- Great for Home Use: Beyond commercial farming, microgreens are easy to grow at home, offering a fresh, nutrient-dense ingredient that can elevate everyday meals like salads, sandwiches, and smoothies.
- Multiple Growing Options: Microgreens can be grown using soil, hydroponic systems, or even organic methods. Each has unique benefits, and beginners can start with simple microgreens growing kits.
By incorporating these tips and insights, you can successfully grow, use, or even sell microgreens, whether for personal enjoyment or as a profitable business.
Advanced Tips for Microgreens Farming
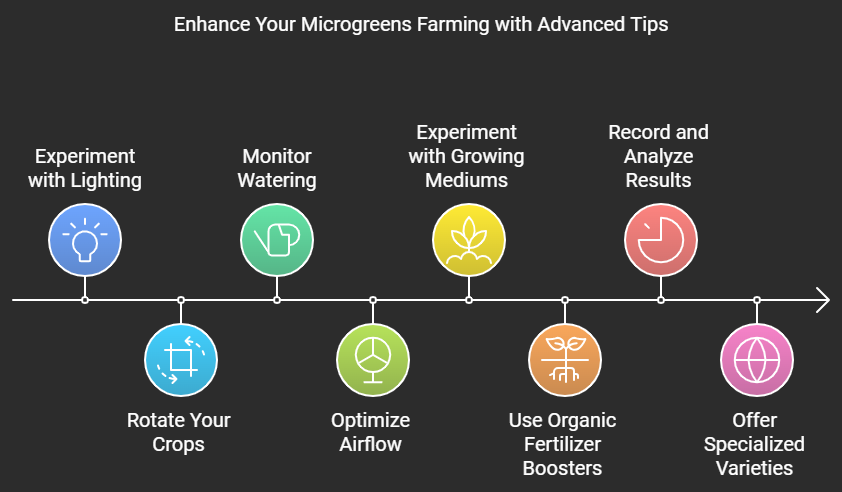
- Experiment with Lighting for Enhanced Growth
- While standard grow lights are sufficient, experimenting with different wavelengths of LED lights can boost the nutritional content and enhance color vibrancy in your microgreens. Blue and red light spectrums have been shown to improve plant growth and flavor development.
- Rotate Your Crops for Consistent Yield
- To ensure a continuous supply of fresh microgreens, set up a rotational growing system. Sow new trays every 3 to 4 days. This way, you’ll always have trays ready to harvest without gaps in production, which is especially important for business operations.
- Monitor Watering Through Capillary Mats
- Instead of top-watering your microgreens, use capillary mats beneath your trays to ensure even moisture distribution. This method reduces the risk of fungal issues and promotes healthier root growth without disturbing the plants.
- Optimize Airflow to Prevent Mold
- In dense microgreen setups, airflow is critical. Use small fans to maintain consistent air circulation around your trays, especially when growing indoors. Good airflow reduces humidity and prevents mold growth, which is a common issue in high-density microgreens farming.
- Experiment with Different Growing Mediums
- Although soil and coconut coir are popular mediums, experimenting with other options like hemp mats, vermiculite, or perlite can lead to better yields and improved root structure, especially in hydroponic systems.
- Use Organic Fertilizer Boosters
- While microgreens generally don’t need heavy fertilization, adding diluted organic fertilizers such as liquid seaweed or fish emulsion to the water can give your plants an extra nutrient boost, leading to faster growth and higher nutrient content.
- Record and Analyze Your Results
- Keep a detailed log of your growing conditions, including seed types, germination times, light exposure, and watering schedules. Analyzing these data points can help you fine-tune your process for better yields, faster growth, and higher-quality microgreens.
- Test for Soil and pH Variations
- Microgreens generally thrive in slightly acidic to neutral pH levels (6.0-7.0). Testing the pH of your water and soil regularly, and adjusting it with pH adjusters, can prevent issues like stunted growth or nutrient deficiencies.
- Offer Specialized Microgreens Varieties
- As you grow your business, consider cultivating unique or harder-to-find varieties of microgreens like amaranth, cilantro, or nasturtium. These specialty varieties can attract chefs and high-end buyers looking for something beyond the standard options.
- Bundle Your Products with Value-Added Services
- If you’re selling microgreens, consider offering value-added services such as meal-prep guides, recipes, or even live planting demos for local businesses or events. This can help differentiate your brand and provide a deeper connection with your customers.
These advanced tips will help you fine-tune your microgreens farming setup, leading to healthier plants, better yields, and potentially more profitable ventures.
Conclusion
Microgreens farming is an exciting and rewarding venture, whether you’re growing for personal use or planning to start a business. These tiny, nutrient-dense greens not only add flavor and color to meals but also come with substantial health benefits. With minimal space and low startup costs, anyone can begin growing microgreens at home or on a small farm. By leveraging the various growing methods, such as hydroponics or organic techniques, you can explore sustainable and profitable agricultural practices.
From harvesting microgreens to incorporating them into everyday meals or building a microgreens business, the possibilities are endless. Their high market demand among health-conscious consumers, restaurants, and grocery stores makes microgreens an attractive and scalable business option. With the right knowledge, tools, and tips provided in this article, you’ll be well on your way to becoming a successful microgreens farmer.
So whether you’re looking to enjoy these superfoods yourself or supply them to the local market, now is the perfect time to get started with microgreens farming.

