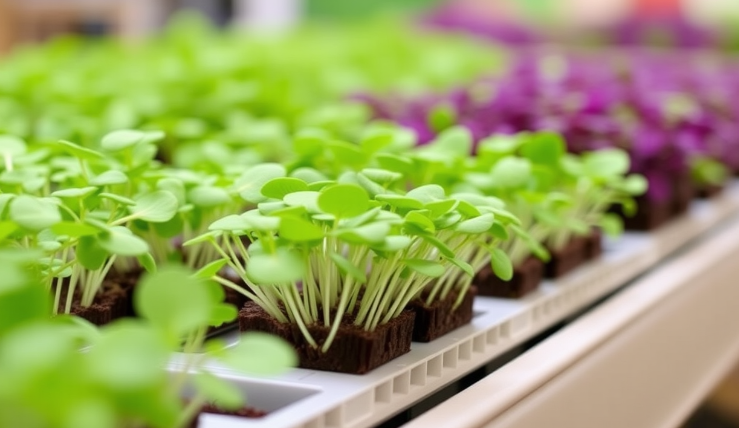
Microgreens are tiny, flavorful plants that pack a big nutritional punch. They are young greens harvested just after the first leaves have developed, and they come in many varieties, such as arugula, basil, and sunflower. Not only are they rich in vitamins and antioxidants, but they also add a fresh, vibrant touch to any meal. Because of their popularity, many people are growing microgreens at home or purchasing them from local markets.
However, if you want to enjoy the full benefits of microgreens, it’s essential to store them properly. Proper storage helps maintain their freshness, flavor, and nutrients. Different types of microgreens have varying shelf lives, and knowing how to store them can make a significant difference in their taste and nutrition. In this article, we will explore the best practices on how to store microgreens, ensuring that you can enjoy their delightful crunch and health benefits for as long as possible.
Optimal Conditions for Storing Microgreens
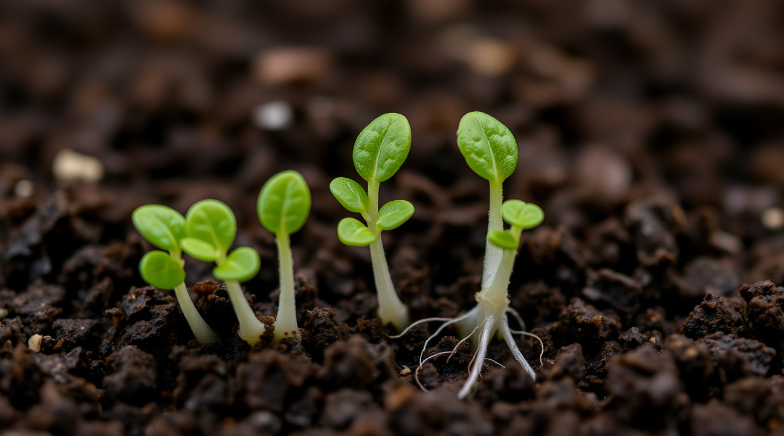
To keep your microgreens fresh and tasty, it’s essential to understand the optimal storage conditions. Here are the key factors to consider:
Temperature
The ideal temperature for storing microgreens is between 32°F to 40°F (0°C to 4°C). Keeping them in the refrigerator slows down the degradation process, helping them stay fresh longer. Cold temperatures preserve the nutrients and crispness of microgreens, making your meals more enjoyable.
Humidity
Humidity control is vital for preventing spoilage. To maintain the right humidity level, you can place a damp paper towel in the container with your microgreens. This will help keep them moist without making them soggy. Avoid excess moisture, as too much can lead to mold growth, ruining your greens.
Light
Microgreens should be stored in dark or shaded conditions. Light exposure can cause them to wilt and lose nutrients. Keeping your microgreens in a dark part of the refrigerator or covering them can help maintain their freshness and vibrant color.
Airflow
Proper airflow is essential for keeping microgreens from drying out. While you want to avoid direct contact with dry air, allowing some airflow can prevent moisture buildup, which can lead to spoilage. Using containers that provide a little ventilation, like perforated bags, can help balance humidity and airflow.
Durations for Storing Microgreens
Understanding how long you can store different types of microgreens will help you enjoy them at their best. Here’s a quick guide on the average storage durations and the shelf life of specific varieties:
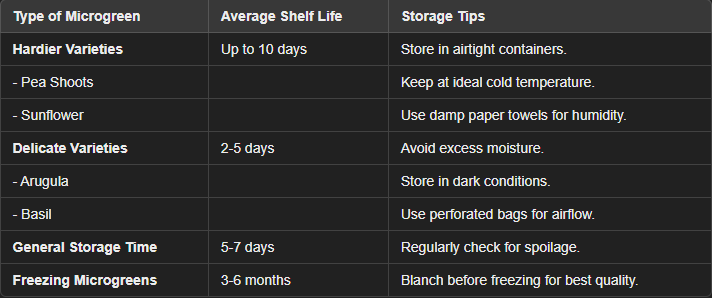
- General Storage Time: Most microgreens typically last between 5-7 days in the refrigerator when stored properly.
- Microgreens Shelf Life by Type:
- Hardier varieties like pea shoots and sunflower can last up to 10 days. These microgreens are more robust and handle storage better.
- Delicate varieties such as arugula and basil tend to have a shorter shelf life, usually lasting between 2-5 days.
- Freezing Microgreens: If you want to keep microgreens for a more extended period, freezing is an option. Properly frozen microgreens can last 3-6 months. Keep in mind that freezing may change their texture, so it’s best to use them in smoothies or cooked dishes after thawing.
Best Tools and Containers for Storing Microgreens
Using the right tools and containers can significantly extend the freshness of your microgreens. Here are some of the best options to consider:
Airtight Containers
Airtight containers are excellent for storing microgreens, as they prevent air exposure and keep moisture levels consistent. Here are some tips:
- Material Options: Glass containers are a great choice because they are non-toxic and don’t absorb odors. Plastic containers can be lightweight and convenient but ensure they are food-grade to avoid any chemical leaching.
- Benefits: Airtight containers help keep your microgreens crisp and fresh by minimizing air exchange and humidity fluctuations.
Plastic or Silicone Bags
Using perforated bags can be a smart way to store microgreens while allowing for some airflow. Here’s how to use them effectively:
- Why Perforated?: These bags have tiny holes that allow for moisture control without completely sealing the greens, which can trap excess humidity and cause spoilage.
- Eco-Friendly Options: Reusable silicone bags are an eco-friendly alternative to plastic and can be used multiple times, making them a sustainable choice for storage.
Paper Towels
Using paper towels can be a simple yet effective way to absorb excess moisture from your microgreens. Here’s how to do it right:
- Lining Containers: Place a paper towel at the bottom of your storage container or between layers of microgreens. This will help absorb any moisture that collects during storage.
- Preventing Sogginess: This method is crucial in preventing your microgreens from becoming soggy, which can lead to quicker spoilage and loss of flavor.
Vacuum Sealed Bags
Vacuum sealing is one of the best ways to extend the shelf life of microgreens, especially for long-term storage. Here are some details:
- How It Works: A vacuum sealer removes air from the bags and seals them tightly, preventing air exposure and moisture loss. This method is particularly useful if you plan to freeze your microgreens.
- Best For Freezing: Vacuum-sealed bags are ideal for preserving the freshness of microgreens in the freezer, allowing them to maintain their flavor and nutrients for months.
Bonus Tips for Storage Tools:
- Labeling: Always label your containers and bags with the date of storage to keep track of freshness.
- Organizing: Keep your microgreens organized in the fridge by placing hardier varieties in front, as they last longer, while placing delicate varieties at the back.
Step-by-Step Guide: How to store Microgreens For Maximum Freshness
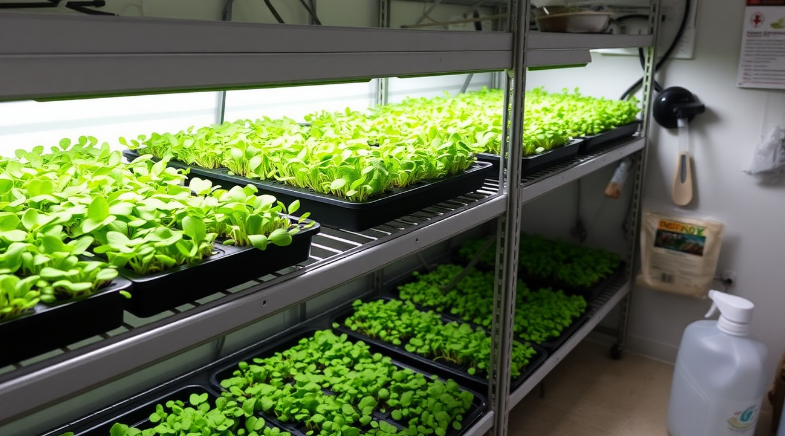
Storing microgreens properly can make a significant difference in their freshness and taste. Here’s a step-by-step guide to help you get the most out of your greens:
1. Harvesting and Preparation
Before storing your microgreens, it’s essential to harvest and prepare them correctly:
- Best Practices for Harvesting: Use sharp, clean scissors or a knife to cut the microgreens just above the soil line. This method helps prevent bruising and damage to the plant. Harvest only the amount you need to reduce waste.
- Cleaning Microgreens: Gently rinse your microgreens under cool water to remove any dirt or debris. Avoid soaking them, as excess water can lead to spoilage. After rinsing, place them on a clean paper towel to remove excess moisture.
2. Drying Microgreens
Once you’ve cleaned your microgreens, drying them is crucial:
- Pat Dry: Use a clean paper towel to gently pat the microgreens dry. This step is vital because excess moisture can lead to mold and faster spoilage.
- Why Avoid Excess Moisture?: Microgreens are delicate, and keeping them too moist can create an environment conducive to mold growth. Drying them properly helps extend their shelf life and maintain their crisp texture.
3. Choosing the Right Storage Method
Decide how you want to store your microgreens based on how long you plan to keep them:
- Refrigeration: For short-term storage, placing microgreens in the refrigerator is best. Use airtight containers, paper towels, or perforated bags to help maintain freshness. Aim to consume them within 5-7 days.
- Freezing: If you have more microgreens than you can eat in a week, consider freezing them. Blanch the microgreens for a few seconds in boiling water, then transfer them to an ice bath to stop the cooking process. Drain and pat dry before placing them in vacuum-sealed bags or airtight containers.
4. Arranging Microgreens in Containers
How you arrange microgreens in storage can affect their freshness:
- Layering: Place microgreens in a single layer in the container whenever possible. If you have a large amount, layer them carefully, separating each layer with a paper towel to absorb moisture and prevent bruising.
- Using Separators: You can use paper towels or clean cloths as separators to prevent the greens from bunching together. This helps maintain their structure and reduces the risk of moisture buildup.
For additional guidance on storing microgreens, check out this resource from the USDA on safe storage practices. It provides detailed information on food safety, including tips for storing fresh produce.
Common Mistakes to Avoid When Storing Microgreens
Even with the best intentions, it’s easy to make mistakes when storing microgreens. Avoiding these common pitfalls can help ensure your microgreens remain fresh and flavorful for as long as possible.
1. Storing Microgreens with Too Much Moisture
One of the biggest mistakes people make is storing microgreens with excess moisture:
- Why It Matters: Moisture can cause mold to develop quickly, leading to spoilage. Microgreens are delicate, and even a small amount of trapped water can create an environment for harmful bacteria to thrive.
- How to Prevent It: Always make sure to dry your microgreens thoroughly after washing. Use a clean paper towel to pat them dry and consider lining your storage container with a paper towel to absorb any residual moisture.
2. Freezing Delicate Microgreens
While freezing can be a great way to extend the shelf life of hardy microgreens, it’s not suitable for all types:
- Which Ones to Avoid: Delicate varieties like basil or arugula do not freeze well. They can become mushy when thawed, losing their texture and flavor.
- Best Practices: Instead of freezing delicate microgreens, use them fresh in salads or dishes where their crispness and flavor can shine. For hardier varieties, blanching before freezing can help retain quality.
3. Leaving Microgreens Exposed to Light and Air
Light and air can lead to faster deterioration of your microgreens:
- The Impact of Light: Exposure to light can cause microgreens to wilt and lose their nutrients. They thrive in dark, cool conditions, similar to how they grow in the soil.
- Airflow Considerations: While some airflow is beneficial, excessive exposure to dry air can dry out microgreens, making them limp and less appetizing.
- Storage Tip: Store microgreens in a dark part of the refrigerator and ensure containers are sealed properly to limit light exposure.
4. Overcrowding Containers
Overcrowding is another common mistake that can lead to quicker spoilage:
- Why It’s Bad: When microgreens are packed too tightly, they can bruise against each other, leading to mushy spots. This not only affects their appearance but also accelerates spoilage.
- How to Avoid It: Use appropriately sized containers that allow for some space between microgreens. If you have a lot, consider using multiple containers rather than cramming everything into one.
5. Ignoring Regular Checks for Spoilage
Finally, many people forget to check their microgreens regularly for signs of spoilage:
- What to Look For: Keep an eye out for yellowing leaves, sliminess, or mold growth. These are signs that your microgreens are no longer fresh.
- Best Practice: Regularly inspect your stored microgreens every few days. If you notice any spoiled greens, remove them immediately to prevent them from affecting the others.
Tips for Extending Microgreens’ Shelf Life
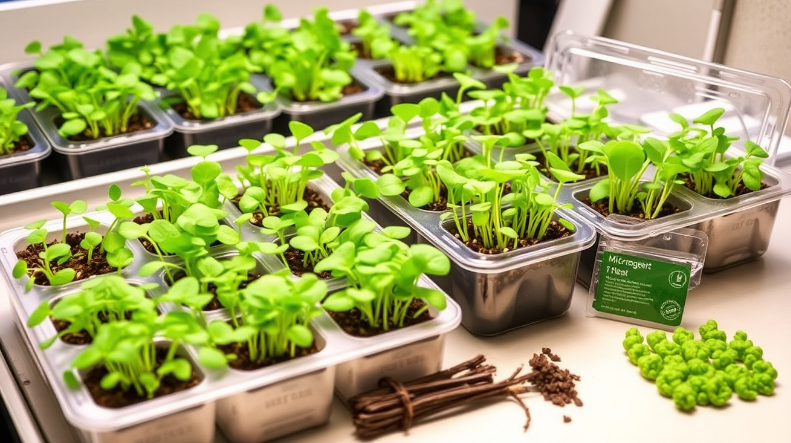
Microgreens are not only nutritious but also flavorful additions to meals. To enjoy them at their best for as long as possible, consider these practical tips for extending their shelf life:
1. Pre-Chilling Microgreens Before Placing Them in the Fridge
One simple yet effective way to prolong the freshness of microgreens is to pre-chill them before storage:
- How It Works: Rapidly cooling microgreens helps reduce the temperature shock when they enter the refrigerator. This process can help slow down the metabolic processes that lead to decay.
- How to Do It: Place the microgreens in a cooler area or an ice bath for a few minutes before transferring them to the fridge. This step can be especially useful if you’ve just harvested or purchased fresh microgreens.
2. Refreshing Slightly Wilted Microgreens
If you notice your microgreens starting to wilt, don’t throw them out just yet! There’s a simple method to refresh them:
- Quick Ice Water Bath: Submerging wilted microgreens in a bowl of ice water can help revive them. The cold temperature will rejuvenate the greens, making them crisp again.
- How to Do It: Fill a bowl with cold water and ice cubes, then submerge the wilted microgreens for about 10-15 minutes. Afterward, gently pat them dry before storing them again.
3. Using Ethylene-Absorbing Devices in Storage Areas
Ethylene gas is a natural compound produced by certain fruits and vegetables as they ripen. It can speed up the decay of nearby greens:
- What It Does: Ethylene can cause microgreens to yellow and spoil faster. By using ethylene-absorbing devices, you can help protect your microgreens from this gas.
- How to Implement: Consider using ethylene absorbers or placing an apple (which produces ethylene) in a separate bag away from your microgreens. Alternatively, keep ethylene-producing fruits in a different area of your fridge to minimize exposure.
4. Storing Microgreens in a Humidity-Controlled Environment
Controlling humidity is vital for preserving the freshness of microgreens:
- Why Humidity Matters: Too much humidity can lead to mold, while too little can cause the greens to dry out. Striking a balance is essential.
- How to Control Humidity: Consider using a produce storage container with humidity controls, or place a damp paper towel inside your storage container to maintain a slight moisture level without soaking the greens.
5. Keeping Microgreens Away from Strong Odors
Microgreens can absorb odors from other foods in the refrigerator, which can affect their flavor:
- The Impact of Strong Odors: Foods like garlic, onions, or certain cheeses can transfer their scent to your microgreens, leading to an undesirable taste.
- Storage Solution: Store microgreens in a separate container away from strong-smelling foods. Using airtight containers can also help prevent odor absorption.
By following these tips, you can significantly extend the shelf life of your microgreens, keeping them fresh and delicious for your meals
Conclusion: Best Practices for Storing Microgreens
Storing microgreens properly is essential for maintaining their freshness, flavor, and nutritional value. By following a few key practices, you can enjoy these vibrant greens for an extended period, maximizing their benefits in your meals.
Recap of Essential Storage Conditions
- Temperature: Keep microgreens stored in the refrigerator at an ideal temperature range of 32°F to 40°F (0°C to 4°C). This cold environment slows down the degradation process and helps preserve the greens’ freshness.
- Humidity: Maintaining appropriate humidity levels is crucial. Using a damp paper towel in your storage container can help regulate moisture, preventing both dryness and mold growth.
- Light: Store microgreens in dark or shaded conditions. Exposure to light can lead to wilting and nutrient loss. Using opaque containers or placing them in the back of the fridge can help keep them shielded from light.
- Airflow: Ensure proper airflow around the microgreens to prevent them from becoming too dry or too moist. Use containers that allow some ventilation, but avoid leaving them exposed to direct air currents that can cause them to wilt.
Importance of Proper Tools and Preparation
Using the right tools and preparing microgreens carefully can greatly enhance their shelf life:
- Airtight Containers: Choose containers that can be sealed tightly to lock in moisture without trapping excess humidity. Glass containers are often a good choice for their non-reactive properties, while plastic containers can be lightweight and easy to handle.
- Paper Towels: Line containers with paper towels to absorb any extra moisture. This simple step can help prevent the microgreens from getting soggy and moldy.
- Gentle Handling: Always handle microgreens gently to avoid bruising. Using scissors for cutting and avoiding excessive handling can preserve their quality.
Final Tips for Keeping Microgreens Fresh Longer
- Regularly Inspect: Check your stored microgreens every few days for signs of spoilage. Remove any wilted or spoiled greens immediately to prevent them from affecting the rest.
- Rotate Stock: If you have multiple batches of microgreens, use the older ones first to minimize waste. Keeping track of harvest dates can help with this.
- Incorporate Them Quickly: The fresher the microgreens, the better they taste! Incorporate them into your meals as soon as possible to enjoy their vibrant flavors and nutritional benefits.
By adhering to these best practices, you can ensure that your microgreens remain fresh and flavorful, making them a delightful and nutritious addition to your culinary creations.

